Week 1 - Week 3 : 6 Apr 2023 - 23 Apr 2023
Tan Yi Yun 0345559Bachelor of Design (Hons) in Creative Media
Exercises

During our first class, Mr. Fauzi introduced us the module and told us what
to expect in the coming 14 weeks. He showed us some past students' work and
encouraged us to explore the area we are interested.
The module focuses on motion graphics and compositing design as pieces of
digital footage or animation which create the illusion of motion through
series of animated transitions with effects and image-based lighting,
modeling and rendering, which is basically the art and science of
combining Computer Graphics (CG) elements with real-world imagery either
in the form of still images or video. We are encouraged to explore more on
3D elements and use the equipment in Vortex Club.
As highlighted by Mr. Fauzi, "the skills that motion graphic
designers must possess is not just focus on the software technicality but
it’s more towards on how you present the ideas with the most effective
ways by considering creativity, aesthetics & design ethics."
Constructive Workflow
The constructive workflow starts with the way you think. To make your work more productive, it is important to synchronize your workflow and construct how your brain works. Once you understand how the computer language works, your ideas become digitally more generative.
To construct a strategic plan:
1. evaluate data and information
2. identify pros and cons
3. create a content creation plan
4. understand your outcome
5. build case studies
Week 2 :
Introduction to Motion Graphics
“Motion graphics is animation, but with text as a major component. Essentially, it’s animated graphic design.”
Ever since motion graphics first entered the scene, there’s been a debate about the line between them and full animation. The opening credits of Hitchcock’s Psycho is an early example of motion graphics, where the marriage of sound, motion, and graphic design come together exceptionally well.
Motion graphics are a way to communicate with the viewer, and add depth to the story. Together with music and effective copy, they can give us a message. We use them to create ads, title sequences for movies, videos and to share information.
Motion graphics are animation, with text as a major component.
Motion Graphics Examples: Branding
Week 3 :
Compositing Toolkit
Composition is the term used to describe the arrangement of the visual elements.
It is how the elements of art and design—line, shape, color, value, texture, form, and space—are organized or composed according to the principles of art and design.
 |
| Figure 1.1, Elements of composition, Week 4 (27/4/2023) |
Basic principles of form and design
Week 4 :
Kinetic typography
Making Kinetic Typography in After Effects
Making Kinetic Typography in After Effects
Week 5 :
Animation techniques
4 Great Motion Graphics Techniques in After Effects
Week 6 :
Keying Overview
How To Green Screen Removal Like A Pro in After Effects Tutorial
INSTRUCTIONS
EXERCISE 1 : 3D Collage
Our first warm-up exercise is 3D collage (assemblage). Collage making is a creative activity that involves cutting, arranging and pasting different materials like pictures, photographs, magazine clippings, or other found objects to create a new composition. It is a good practice for composition and also a good way to express our creativity.
Inspiration
I went to Pinterest and saved a bunch of inspirations. Here's the link to my Pinterest board: https://pin.it/4L2ZVzK
 |
| Figure 2.1, Inspirations from Pinterest, Week 1(6/4/2023) |
Sketch
I sketched my ideas using Clip Studio Paint Pro. I didn't realize my license had expired until I finished my sketch. I can't export the sketch using trial version, so bare with me for the low resolution of the sketch in Figure 2.2.
 |
| Figure 2.2, Rough sketch, Week 1(6/4/2023) |
Execution
I looked around to collect the materials that can be used in this collage exercise. I found paper, manila card, wires, strings, ropes, plastic and ribbon. I have a lot of painting materials such as pastels, watercolors, acrylics, color pencils, markers and pens. After preparing the materials, I looked for an unwanted box that can be used as a frame. I carefully sliced through one of the front surfaces of the box to it into a frame.
 |
| Figure 2.3, Turning a box into a frame, Week 1(8/4/2023) |
I pasted a paper with some texts I wrote for myself inside the frame. Then, I tore a brown paper bag and pasted at the corners to create layers.
 |
| Figure 2.4, Base, Week 1 (8/4/2023) |
I used pigment pen to draw on a textured manila card and extracted it using a cutting blade. Carving through two layers of manila cards requires both skill and strength, but my passion for paper carving keeps me patient and motivated.
 |
| Figure 2.5, Paper carving, Week 1 (9/4/2023) |
 |
| Figure 2.6, Beehives, Week 1 (9/4/2023) |
 |
| Figure 2.7, Attached tree and grasses, Week 1 (9/4/2023) |
 |
| Figure 2.8, Attached tree and grasses, Week 1 (9/4/2023) |
 |
| Figure 2.9, "Coffee stains", Week 1 (9/4/2023) |
 |
| Figure 3.0, "Coffee stains", Week 1 (9/4/2023) |
 |
| Figure 3.1, Plant and mushrooms, Week 1 (9/4/2023) |
 |
| Figure 3.2, Creating a bee, Week 1 (9/4/2023) |
 |
| Figure 3.3, Attaching the bee, Week 1 (9/4/2023) |
 |
| Figure 3.4, Coloring process, Week 1 (9/4/2023) |
 |
| Figure 3.5, Spraying the paint, Week 1(9/4/2023) |
 |
| Figure 3.6, Decorating the frame, Week 1(9/4/2023) |
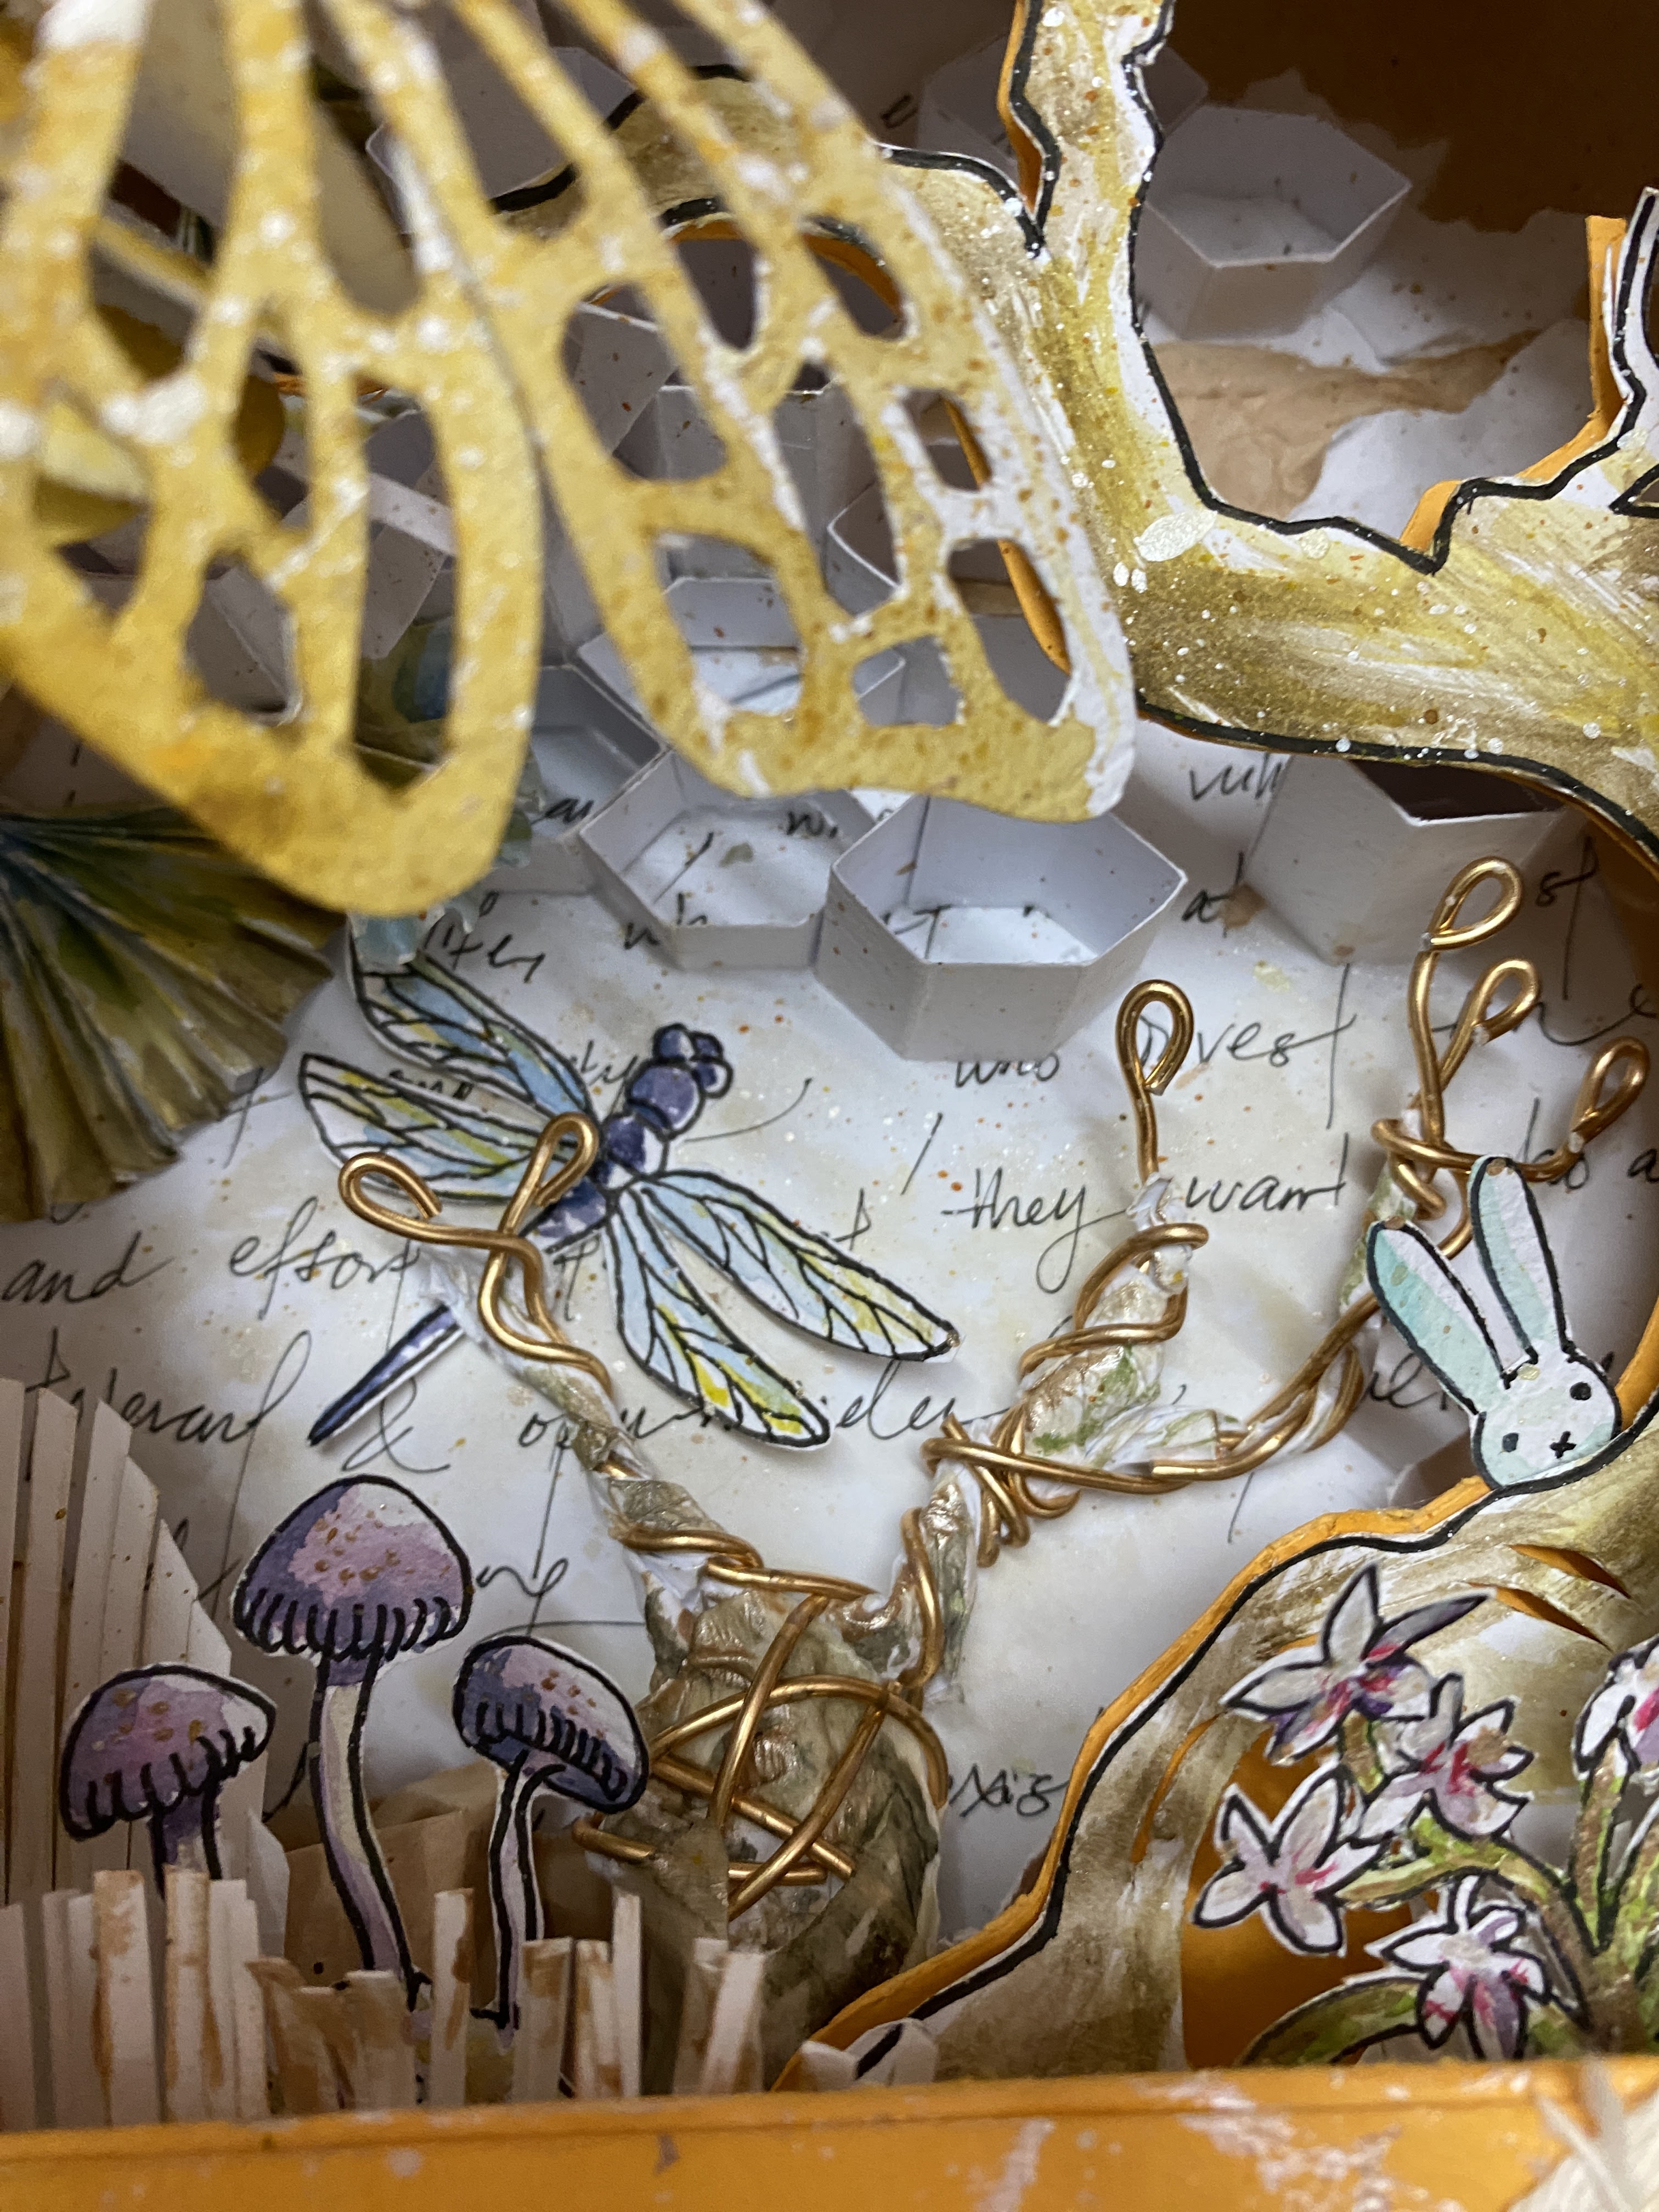
I named this 3D Collage "Bee Wild". It reminds me to embrace the inner creativity and unleash my wild side. The vibrant colors and swirling patterns evoke a sense of movement and energy, suggesting that anything is possible if you are willing to take a chance and explore your passions. The focus point of the collage is a bee, a symbol of industriousness and hard work, but also of creativity and the beauty of nature. It is a piece that inspires us to live life to the fullest, to explore our interests, and to never forget the beauty of nature that surrounds us.
 |
| Figure 3.7, "Bee Wild", Week 1 (9/4/2023) |
 |
| Figure 3.8, Close-up of the dragonfly, Week 1 (9/4/2023) |
 |
| Figure 3.9, Close-up of the rabbit, Week 1 (9/4/2023) |
 |
| Figure 4.0, Close-up of the strings on the frame, Week 1(9/4/2023) |
 |
| Figure 4.1, Close-up of a corner, Week 1(9/4/2023) |
 |
| Figure 4.2, Close-up of a growing creature (winded with wire), Week 1(9/4/2023) |
 |
| Figure 4.3, Close-up of the bee, Week 1(9/4/2023) |
 |
| Figure 4.2, Close-up of the beehive, Week 1(9/4/2023) |
 |
| Figure 4.3, Perspective view of "Bee Wild", Week 1(9/4/2023) |
EXERCISE 2 : Deconstructing Digital Images and The Rendering Process
In this exercise, we are given a set of pictures to compose into 3 different compositions. We need to extract the object from the background in Photoshop and arrange them in an appealing way. Then, we should pick the best composition and animate it in After Effects.
 |
| Figure 4.4, The given pictures, Week 2 (13/4/2023) |
Composition #1
The focus point is on the fencer, who is trying to poke a paper plane. The overall tone lends towards retro style and dissolve blending option is used to create the film noise effect. The brightness and hue are adjusted to match the concept of this digital collage.
 |
| Figure 4.5, Composition #1, Week 2 (13/4/2023) |
The fight between the fencer against the shark. I tuned the color to become less saturated and highlighted the hue and the size of shark. I applied linear light to the shark to create that drastic contrast of the color.
I have chosen Composition #1 to animate in After Effects. It took me several hours to animate the movement of the objects and the timing and spacing of animation.
 |
| Figure 4.6, Composition #2, Week 2 (13/4/2023) |
Composition #3
The last composition is more straightforward and simple. The old projector becomes the focus of the composition, places in the center. The paper planes create diagonal direction, same as the way to construct the buildings.
 |
| Figure 4.7, Composition #3, Week 2 (13/4/2023) |
I have chosen Composition #1 to animate in After Effects. It took me several hours to animate the movement of the objects and the timing and spacing of animation.
 |
| Figure 4.8, Animated in After Effects, Week 2 (15/4/2023) |
 |
| Figure 4.9, Audio editing in Adobe Audition, Week 2 (15/4/2023) |
 |
| Figure 5.0, Audio editing in Adobe Audition, Week 2 (15/4/2023) |
 |
| Figure 5.1, Adding audios in Adobe Premiere Pro, Week 2 (15/4/2023) |
Final Digital Imaging Animation
Final Digital Imaging Animation, Week 2 (15/4/2023)
FEEDBACK
Week 6 :
Mr. Fauzi loves my collage! Good effort. Looks like a final project. He encourage me to post in my social media because the world collage day is coming soon in this weekend.
For the digital collage, the texture is good. Very good efforts. It is interesting to see how you play with the adjustment layer and blending mode. Experimental and surprising.
REFLECTION
The physical collage exercise required me to gather different materials and textures to create a visually appealing composition. It allowed me to think more creatively and explore different materials around me and pick the suitable color theme of physical collage. It was challenging to manipulate the physical materials to create the desired effect, but the end result was satisfying. Moving on to the digital collage exercise, it required me to work across software such as Photoshop, After Effects, Premiere Pro and Audition to create a complete animation. I found it easier to manipulate the different elements in the digital space as compared to the physical collage exercise. Also, I am allowed to play with different blending options to create an unexpected result.
Overall, these exercises have helped me to hone my composition skills. I have gained a better understanding of the importance of visual storytelling and how different elements can be combined to create an effective design. I look forward to applying the knowledge and skills I have acquired in future projects.